Reason Codes
Students are prompted to identify the reason for their visit when scheduling an appointment, entering a virtual lobby, or checking into an on-campus meeting queue using the Kiosk. They choose from a list of Reason Codes in the ConexED system.
The first step in creating reason codes for campus use is to create reason code categories. This task can only be completed by someone with a ConexED Administrator role, and is done via the admin panel. The categories generally align with the naming conventions of the either the Groups or Departments you have created. In addition, a category name Shared Reason Codes is frequently created.
While there is an option to build out reason codes within the admin panel, best practice is to create the categories via the admin panel, but build the reason codes using the Scheduling Control Center. The creation modal in the Scheduling Control center includes details and options to select for each reason code that the option in the Admin Panel does not include.
ConexED Admin Panel: Reason Codes
Navigate to the Reason Code tab in the admin panel. Upon opening, you will see the option to Add Reason Code Category. Select that option, enter your desired category name, and click Ok. Repeat as needed.
Figure 1
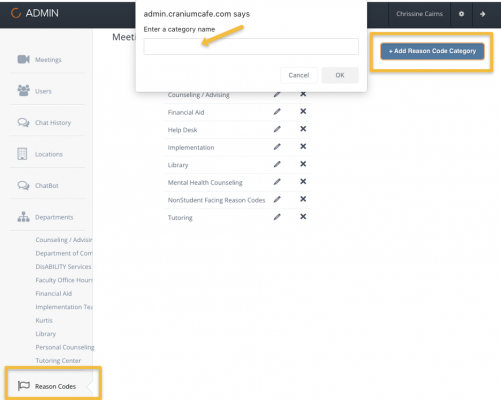
ConexED Admin Creates Reason Code Categories on Admin User Panel