This article applies to the following role permissions: ConexED Administrator - Director
The purpose of the Master Scheduler tab within the Scheduling Control Center is to allow a ConexED Administrator OR a Department Director to schedule and edit their respective group users' office hours without having to navigate from group to group.
Office hours are the basis for scheduling appointments within the ConexED system. ConexED office hours are required for showing available appointment slots on the scheduler.
Office hours may also be created to block time on the calendar for in-office walk-in meetings, as the blocked time for drop-in prevents appointment availability on the scheduler.
Unscheduled, virtual drop-in meetings can occur at anytime and do not require the creation of office hours.
Master Scheduler Tool
Navigate to "Scheduling" then "Scheduling Control Center" on the left side navigation menu.
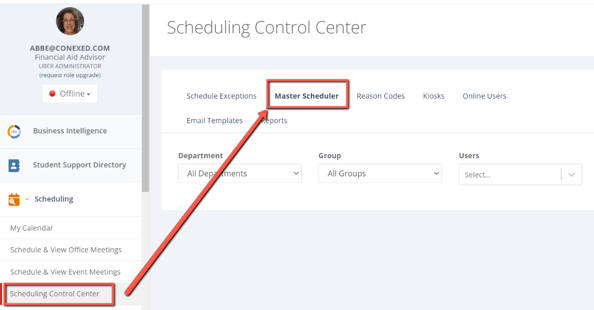
Click on "Master Scheduler", then from the Users Drop Down box, select a user that you are setting office hours for. The office hours will create appointment slots on the group calendar.
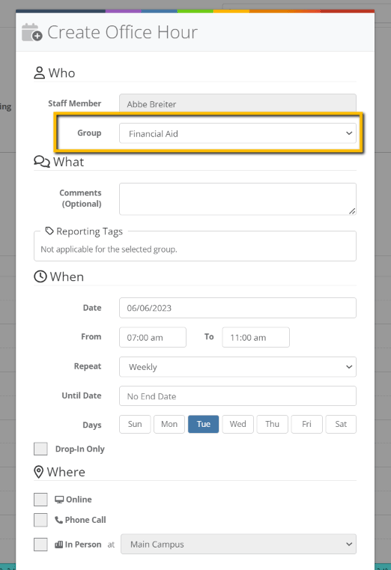
If a user belongs to multiple groups you will need to set the office hours for one group at a time. Select the first group and complete all the steps in the window.
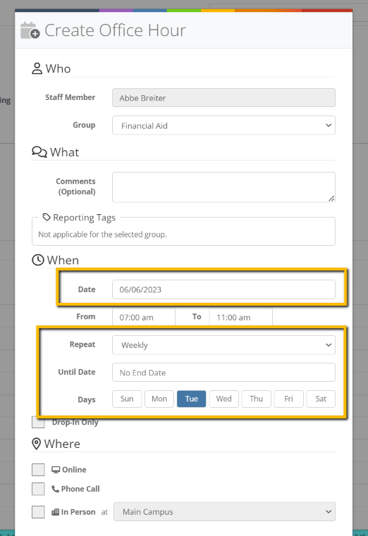
Date: Select Single or Recurring Series and input the single date or recurring dates.
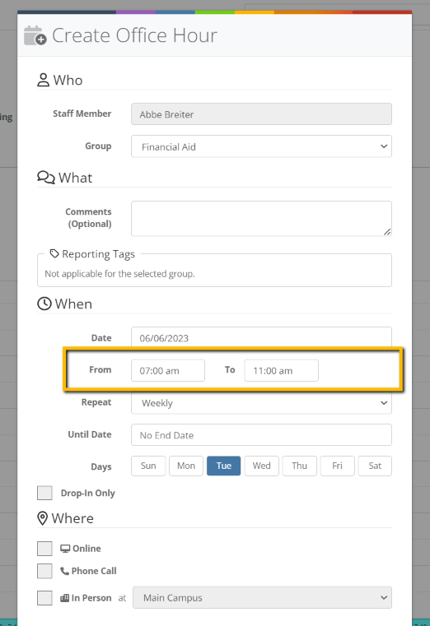
Time: Select a Start Time and an End Time for your office hours. If you work multiple shifts, create office hours for each shift separately.
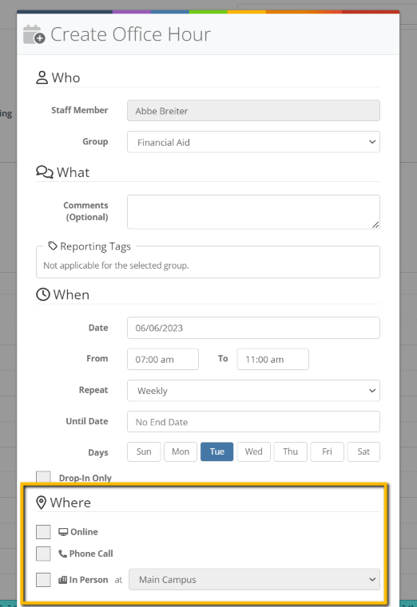
Location: Once you select a Group, the form will update to show the group’s locations. Select the location(s) for these office hours: video, telephone, or in office.
In-office appointments also require selecting the name of that location. Some institutions or groups have multiple campuses or centers listed here. If you work at multiple locations, create office hours for one location and then create a new set of office hours for the other location.
In-office appointments also require selecting the name of that location. Some institutions or groups have multiple campuses or centers listed here. If you work at multiple locations, create office hours for one location and then create a new set of office hours for the other location.
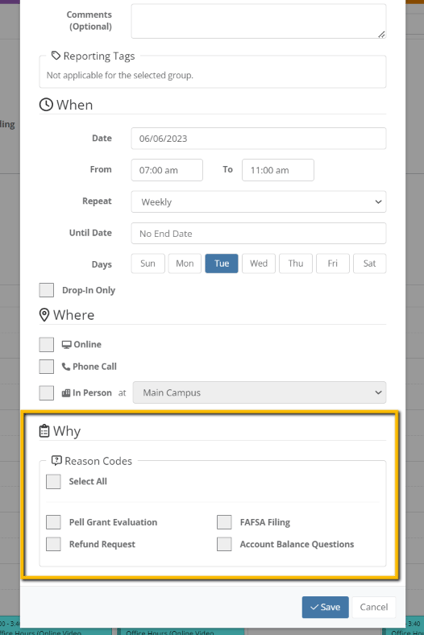
Reason Codes: The group setting "Show or Hide reason codes" dictates what is displayed. When reason codes appear here, a group setting has been selected to allow staff and faculty to select from the group’s reason codes when making office hours. When reason codes do not appear here, a group setting has been selected that applies all of the group’s reason codes to all staff and faculty office hours by default. Only those with the Group Manager role and above can change the group setting to show or hide reason codes on the office hour creation dialogue box.
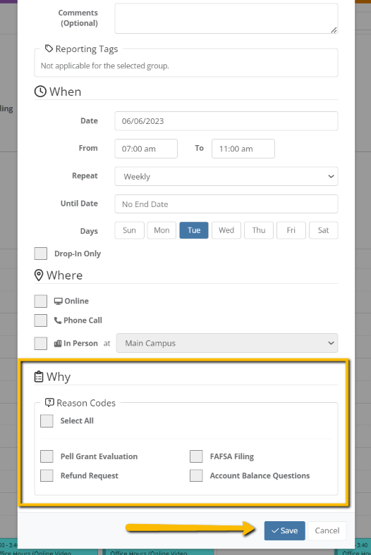
Save: Click "Save" to save and add your office hours to your calendar. If you belong to multiple groups or hold office hours in different in-office locations, repeat the office hour creation steps for each group and location.

Option for Drop-In Office Hours: The checkbox for Drop-In Office Hours is for office hours that are not for scheduled appointments. Checking this box will hide your office hours on the appointment scheduler. Your office hours will appear on the group calendar with a dotted line around them. Students without appointments who walk into your office can be checked into a meeting with you during your walk-in hours, and students without appointments can knock on your ConexED card door for a virtual meeting during walk-in hours.